A repost of a tutorial!
Requested to be reposted. Here it is.
So I have got a few request to know how to do this, and one particular request to do a tutorial. So I figured that with "all my spare time" (ie. none) I'd throw something together, just to keep people happy. xD So here you go, people. We're going to create an orb. Hahah.
We're going to be attempting to create this:
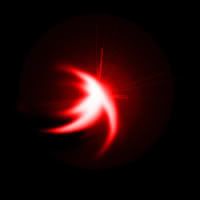
Step 01. Create a new canvas. Transparent. RGB. I'll be working on a 200x200, but you can use whatever size you'd like.
Step 02. Fill with black (#000000). The only way this will work is if you fill your canvas with black. So do so.

Step 03. The next thing you're going to do is render a lens flare on your canvas. To do so, go to Filter > Render > Lens Flare.
Here is where you get to fool around. Use whichever lens flare you'd like, on whatever brightness you'd like. Here are my settings:
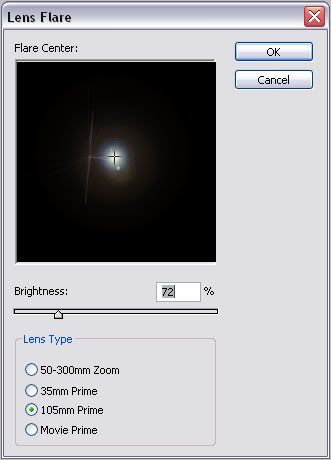
Step 04. At this point, I like to do an auto-levels to make sure that the background stays black. Ctrl + Shift + L.
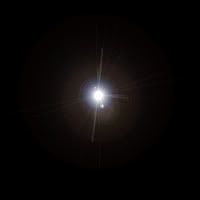
Step 05. Alright. If you expected this to be a STEP-BY-STEP tutorial, you'll be greatly disappointed. Here is where you NEED to play around. Grab your smudge tool  and begin to drag it around to create your desired effect. You'll have to really play around to get your desired effect. So just have fun. and begin to drag it around to create your desired effect. You'll have to really play around to get your desired effect. So just have fun.
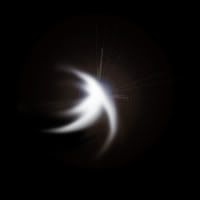
[I'm sure you can create something better than this.]
[It was just thrown together.]
Step 06. Now you get to colourrrrr it. There are numourous ways of doing this. I'll give you a couple ideas.
One is to use your Hue/Saturation/Lightness option. Ctrl + H. Play with the Hue and the Saturation settings to get your desired colour:
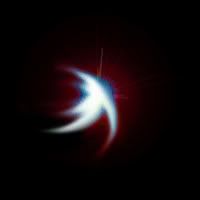
The next way is to add a colour layer.
Fill in a layer with your colour of choice. Set it to blend mode "colour."

Now you're done.
Of course this can be done several different ways. Have different effects. Use it on different things. (To use, put it on the image you want it over and set the layer of your orb to screen.)
Examples:
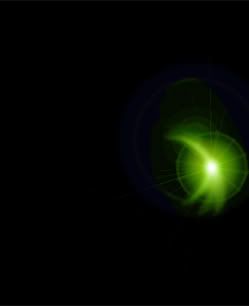
This one was obviously made with a different lens flare, and a colour layer.
|

